Are you wondering how to understand guitar tabs? Reading tablature (or tabs) is one of the easiest way to learn to play a guitar especially for those who do not know how to read traditional sheet music. Instead of using musical notes and symbols, tablature uses a mixture of letters, symbols and numbers to show were fingers should be on the strings and how the strings should be played. While guitars come in a variety of string amounts, this lesson is geared toward the standard six-string version. While some tablature is written with the guitar tuned to something other than the standard tuning, this lesson focusses on tabs using standard tuning.
Guitar Fundamentals
For those brand new to the guitar, one of the most critical pieces of information to know is the names of the strings. Holding the instrument as you would while playing, you will notice that the thickest string is on the top and that the strings get thinner as they go toward the floor. Each string is named after the note it plays when strum with no frets are being held down. The thickest string is the E string, followed by A, D, G, B, and high E. As the guitar has two E strings, for the purpose of this lesson the thick one will be referred to as ‘E’ and the thin one will be referred to as ‘e.’
Reading Guitar Tabs
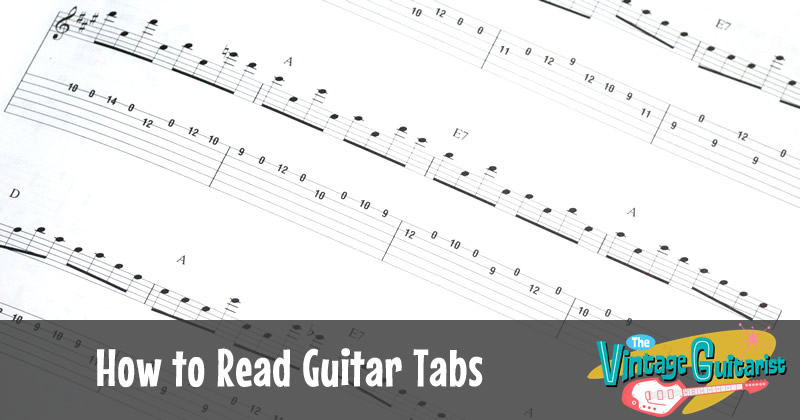
Tabs are set up with six horizontal lines that represent each of the six strings on the guitar. They are set up with e on top and E on the bottom. Picture the lines as if you were holding up the guitar with the strings facing you. The thick low E string is on the bottom and the thin high e string is at the top. So as you’re looking at the strings they will read from top to bottom: e, B, G, D, A, E. This too is how the six lines of the tablature are shown.
• e l—————l
• B l—————l
• G l—————l
• D l—————l
• A l—————l
• E l—————l
The next component of tablature is the numbers listed on the string lines. These numbers represent the fret that is to be played on that particular string. A zero would mean that you play the string open, or not holding down any frets. A one would mean to place your finger on the first fret. Two means hold down the seconds fret, and so on. Each time a fret number is listed, the player would pluck that string. For example, e l—2—2—2—l would mean to hold down the high e string at the second fret and pluck the string three times.
Tablature is read from left to right and numbers that are listed vertically on top of each other means that those notes are played at the same time. All chords will be written in this manner. Each time a chord is listed it is strum so if it is written three times in a row, you would strum it three times.
When either an ‘x’ appears on the tablature or if there is not a number listed, it is telling the musician that the particular string is not being played at all. An ‘x’ could also mean that the note is played, but is being muted. For beginners, it is best to just assume that the purpose of an ‘x’ is meant to skip that string.
Basic Symbols
Guitar tabs also contain symbols telling the musician how to play certain notes. Here is a list of some basic symbols you will come up against.
• h (hammer on) – If you see an ‘h’ between two numbers, it means you are going to hammer on your finger at the fret listed. To accomplish this, you will begin by plucking or strumming the first fret numbered. For the fret listed after the ‘h’ instead of just holding down the string at the fret listed, you are going to use a finger to strike the string hard, much like using your finger as a hammer, to produce the next note without using your plucking hand.
• p (pull off) – This is the reverse of hammer on. It will be listed in the tablature as a ‘p’ between two numbers. For this, you will place fingers at both frets listed. Then, strum or pluck the string and pull the higher fretted finger off while the lower fret is still held in order to change between the notes.
• / (slide up) – When the symbol ‘/’ is shown between two fret numbers, it means you are going to play the first fret listed then, without releasing the string, slide that finger up to the next fret listed in order to change notes.
• \ (slide down) – The opposite of sliding up, the fret finger will slide from the first fret listed down to the second fret listed.
• b (bend) – The letter ‘b’ next to a fret number means you are going to pluck the string, then bend the string with the fret finger to produce a different tone.
• v or ~ (vibrato) – If either of these are shown next to a fret number, you are going to pluck the string, then use the fret finger to slightly bend the string up and down in a quick fashion essentially vibrating the note being played.
• t (tapping) – Tapping means that the notes are being played by tapping the fingers on the fret board. It is very much like hammering on each note as the strumming hand is not used. This will be noted as a ‘t’ next to the fret number.
Because tablature does not tell you how long to hold a note for or how the rhythm of changing notes should sound, it is recommended to listen to the song you are learning while working along with the tablature. There is a huge library of videos online that can give a visual aid to mastering this teaching method. Learning to read tablature will take some time to get used to, but once mastered will open up a whole world of music.